Crafting Tranquility in Chaos: DIY Rub on Transfer Terra Cotta Pots
Let's jump into the serenity of crafting amidst life chaos with our step-by-step guide on creating charming rub on transfer terra cotta pots. Join us in transforming everyday materials into delightful spring decor, finding solace in creativity during the hustle and bustle of life's renovations.
I may sometimes use affiliate links, which means a small commission is earned if you make a purchase via the link. The price will be the same whether you use the affiliate link or go directly to the vendor’s website using a non-affiliate link.
Once upon a time, I was the gal devouring every blog that caught my eye. I craved decorating inspiration, sought out vintage treasures, yearned to discover what worked and what didn't, and, of course, hungered for new recipes.
"I want all the things", I declared!
Fast forward about twelve years, and here I am, sharing my own experiences through blogging, dishing out recipes, recounting triumphs and mishaps. Let me be real with you – my home is not always a picture-perfect haven. In fact, as I write this, chaos reigns. The foyer contents are scattered in the dining room, drop cloths trail up the stairs, a hefty tool chest claims the entry, coats find refuge in the living room atop a box, a boxed toilet sits inconspicuously, and tools litter the front porch. Remnants of cut tile decorate the porch steps. Life has been a hectic whirlwind, and this gal is exhausted.
So, in case you harbor the misconception that bloggers live in perpetual aesthetic bliss, let me dispel that myth. Our homes can be just as disheveled as the next person's. Today, my home is far from perfect – it's in shambles, and I'm moving at a slower pace than ever. Putting it all back together is a task I'm not particularly looking forward to, but thankfully, today is not that day. Instead, let's delve into the world of rub-on transfers.
Lately, my dining room has become my refuge amidst the ongoing renovations. Crafting supplies weren't initially meant to migrate upstairs, but inevitably, they did. I eagerly embarked on another rub-on transfers project, and my adventurous spirit led me to dabble in painting once again. More on that later. Paints, brushes, water jars, a paint-by-numbers kit, and a hand-towel-turned-canvas – the chaos unfolded, leaving my once pristine dining table in disarray.
If you're cringing at the sight, trust me, I'm right there with you. Living in a construction zone means accepting the ebb and flow of disorder. So here I am, throwing my hands up in surrender, embracing the chaos enveloping me.
I disconnected from the outside world, submerging myself in a realm of adorable chicks, eggs, and terra cotta pots, thinking, "Ahhh, this is undeniably my world." Feeling the urge to linger in my decorating reverie, I even opted to craft a second set.
Now, let's get down to business:
Materials:
- Spring Rub-on Transfers
- 2-inch terra cotta pots (at least three)
- White Apple Barrel craft paint
- Paintbrush
- Spanish moss
- Small eggs (I used half-inch wood beads, I will be sharing a new project with these once things calm down around here)
Instructions:
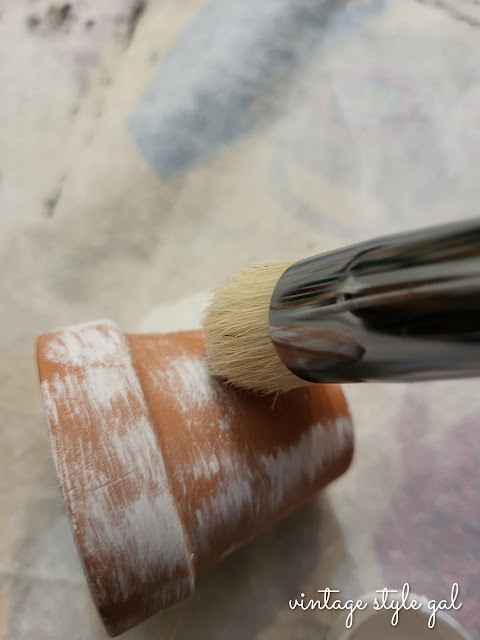
- Dry brush terra cotta pots with white craft paint to achieve your desired look.
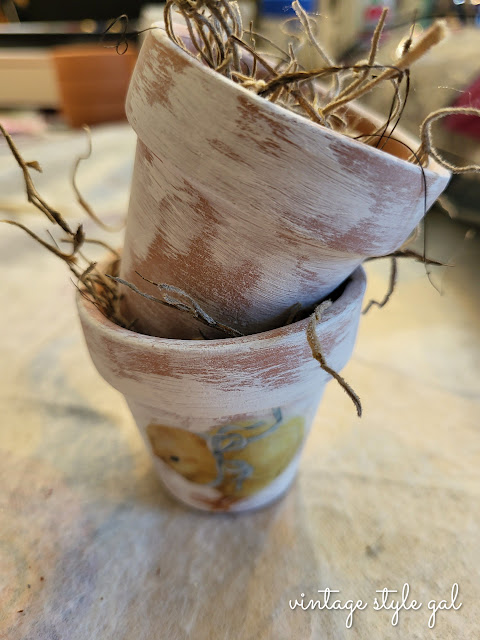
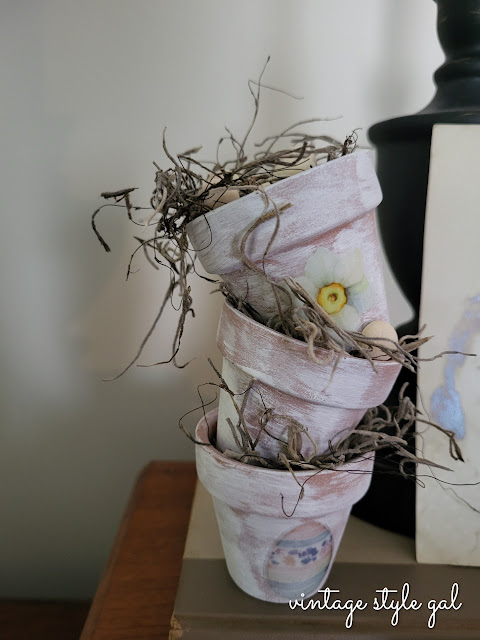
- Apply rub-on transfers. I opted for a small chick and an egg, placing them on the bottom and top pots only.
- Insert spanish moss into all pots, arranging them at skewed angles. If giving as gifts, hot glue the pots to secure them – I skipped this step.
- Place wood beads inside the top pot to mimic eggs waiting to hatch.
While this project may be small, it's incredibly easy. Imagine these adorable creations adorning both sides of your mantel or gracing each place setting on your Easter table as delightful take-home gifts. The beauty lies in their uniqueness – no two pots will look the same, allowing you to curate your own stylish collection.
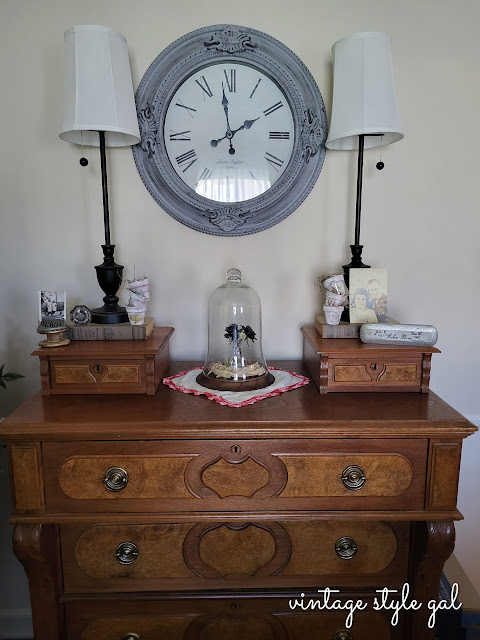
I imagined the photo was taken Easter Sunday with the gals all dolled up for Easter. Not sure if that was the occasion, but that is the story my mind told itself. Decorating with vintage finds and family photos can be so much fun.
Two sets of pots were better than one on our buffet for spring and Easter. What do you think about using transfers on terra cotta pots? I even think they would be adorable housing two battery operated taper candles on the table inside the pots by using a bit of wax to adhere the candles to the bottom of the pots.
Pin this post to read later
Cara


What a marvelous job you did with those terra-cotta pots! Who would have thought that something as simple as a pot could turn into such a pretty ornament?
ReplyDeleteThank you so much Carmela, working with terra cotta pots is not new to me, but sharing here is. I began giving these pots make overs about 20 years ago since I like pretty more than functional. I am ready for spring to make it's grand entrance.
DeleteI love your terracotta pot makeover, Cara, and I agree, candles would be perfect!
ReplyDeleteI love decorating with terra cotta pots Ann, they are so versatile.
DeleteThese pots are such a beautiful way to celebrate Spring, Cara! I love how you aged them and added the transfers too. They're really creative and the older I get the more I look forward to projects that are quick and easy. Can't wait to see all that you have in store. Hang in there, I've lived in a construction zone myself. It's not always easy but in the end, the effort will be worth it. Big hugs, CoCo
ReplyDeleteThank you CoCo! Living in a construction zone is hard, I thought oh, this will be so easy! That hasn't been the case, but I am trying my darndest to roll with it. These little pots have gotten the rub on transfer juices flowing, I have to many more ideas and I cannot wait to share them with y'all!
DeleteThis is such a lovely idea, and a craft activity that is not difficult to try out! The pots turned out really nicely and look great!
ReplyDeleteThank you so much Molly, the easier the better for me. I try to be mindful when I come up with projects to share, not everyone has a lot of time on their hands. I have had where I did not know what to do with myself times, and then other times where I have taken on too much. I am hoping to find the sweet spot of just enough this year.
DeleteOh my Cara! I can relate to living in a house with makeover mess everywhere! It's frustrating but I'm always so happy when it's finally done! Good luck with your project! I'm loving your sweet flower pots! They look so good with the aging and transfers! Can't wait for Spring to get here!
ReplyDeleteI cannot wait for spring either Donna! I think I skipped all of the holidays and went straight into spring this year. Yes, living in a construction zone has been a bit of a challenge for me. We have a large hole in the ceiling at the moment, but I am trying to be patient, and know when we are finished, everything will be sound, safe, and hopefully ready to go for my lifetime.
Delete