
DIY Christmas Ornaments From Paper (Easy Napkin & Mixed‑Media Tutorial)
A charming, vintage‑style holiday craft using napkins, canvases, and everyday supplies
If you’ve been searching for how to make Christmas ornaments from paper, this project is going to be your new favorite holiday DIY. These handmade ornaments are inexpensive, customizable, and full of personality — especially when you use napkins, dictionary pages, or printed designs you already have at home.
They’re the perfect blend of vintage charm, creative reuse, and holiday cheer, and they look stunning on any Christmas tree.

Why Make Christmas Ornaments From Paper?
Paper ornaments check every box:
Budget-friendly — especially when using leftover napkins
Beginner-friendly — no painting skills required
Customizable — dogs, cats, vintage trucks, florals, damask prints
Lightweight — great for small trees or branches
Giftable — personal and meaningful
And yes… they’re a little messy. But the fun kind of messy.
The Ornament That Started It All: The Beagle & His Squirrel
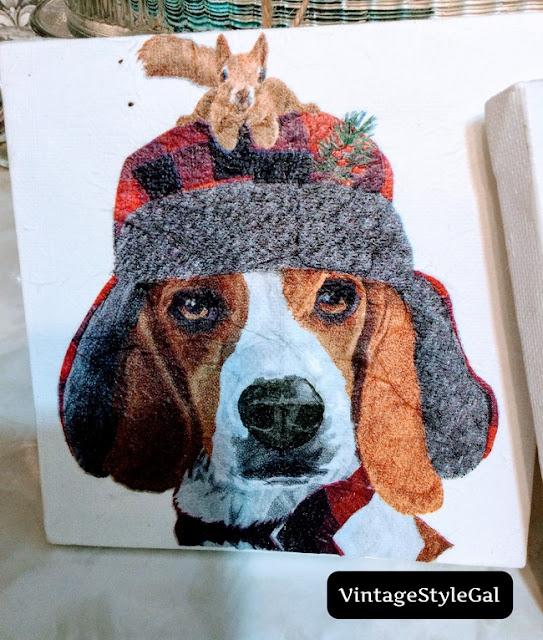
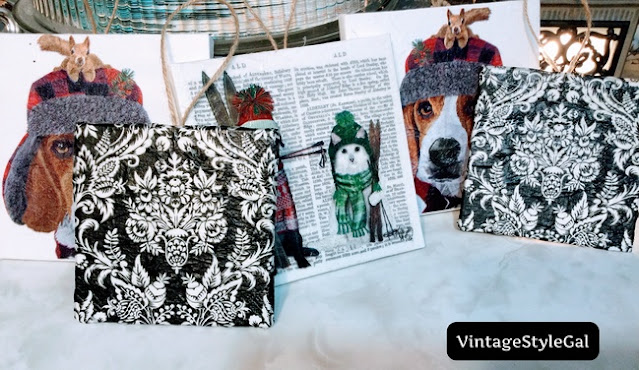
This little guy — the beagle with a squirrel perched on his winter hat — is the ornament that inspired the entire project. Bentley’s ongoing feud with the backyard squirrel made this napkin irresistible, and once I made the first ornament, I knew I needed more.
Supplies You’ll Need
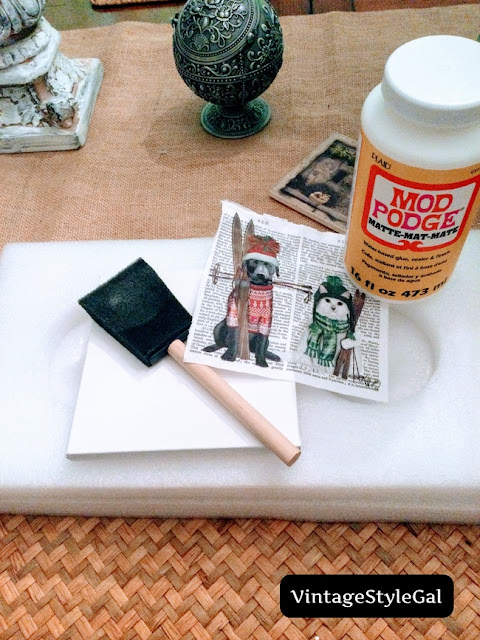
- Paper napkins or printed designs
5x5 canvases (or tiles for mixed‑media versions) or 4x4 canvases
Mod Podge
Scissors
Hot glue gun + glue
Saran wrap (optional but helpful)
Foam brush (optional — fingers work best!)
How to Make Christmas Ornaments From Paper (Step‑by‑Step)
1. Separate the napkin plies
You only need one thin ply for the ornament.
TIP: Hold the napkin edge to your mouth and blow — it creates a separation point so you can peel the layers apart easily.
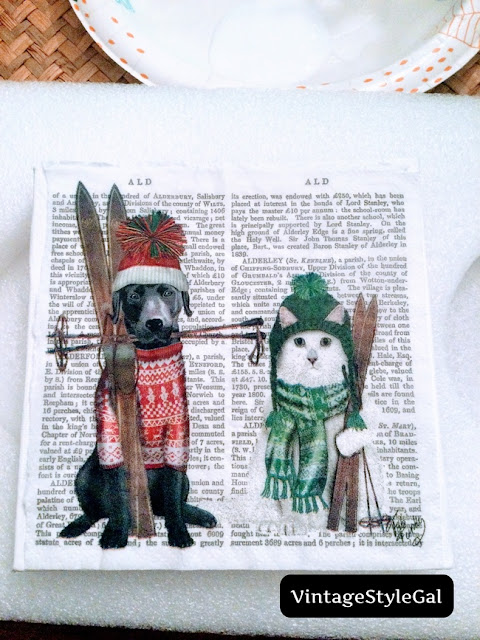
2. Cut the napkin to size
Trim it down to fit your canvas or tile.
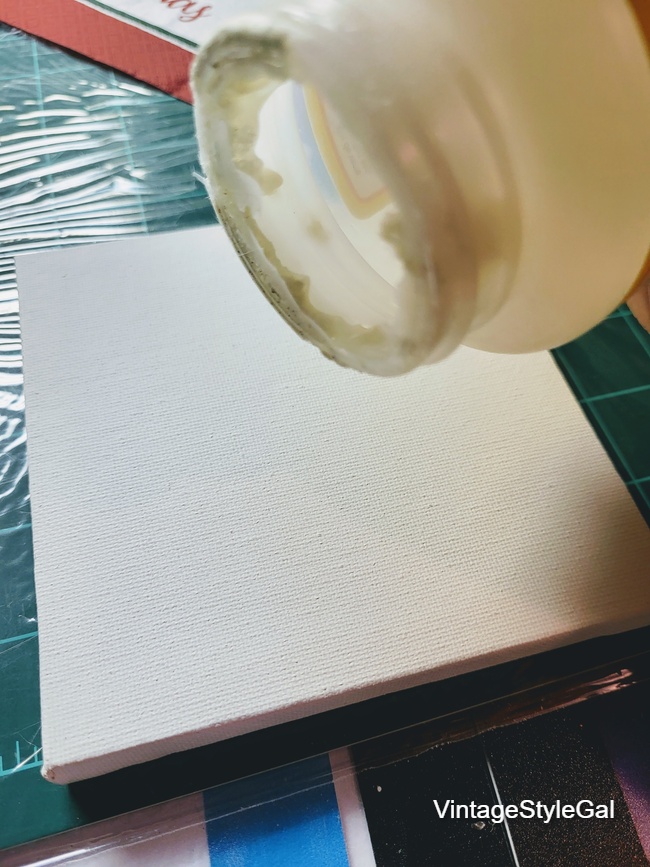
3. Apply Mod Podge to the canvas
Use your finger — it gives the smoothest coverage.
4. Place the napkin on the canvas
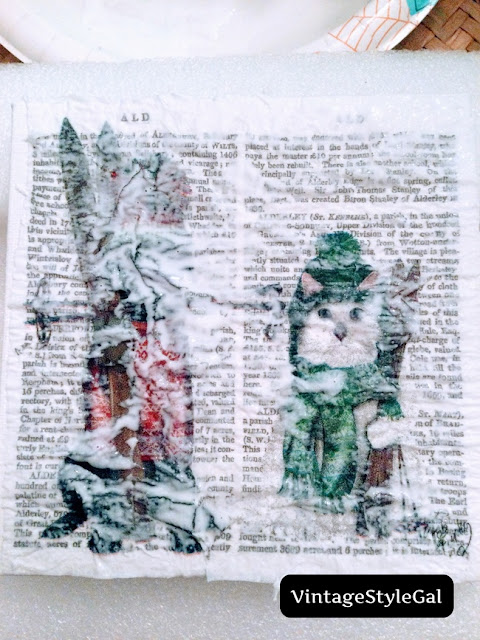
5. Smooth the napkin
You have two finish options:
Crinkled vintage look: Let it dry for 15 minutes, then seal.
Smooth finish: Immediately place saran wrap over the napkin and gently smooth out wrinkles.
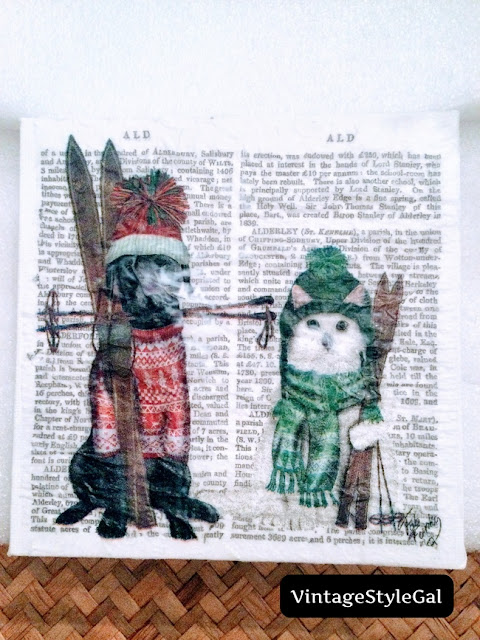
6. Seal the top
Add a final coat of Mod Podge to protect the ornament.
7. Add the twine hanger
Twist the ends with Mod Podge, form a loop, and hot glue it to the back.




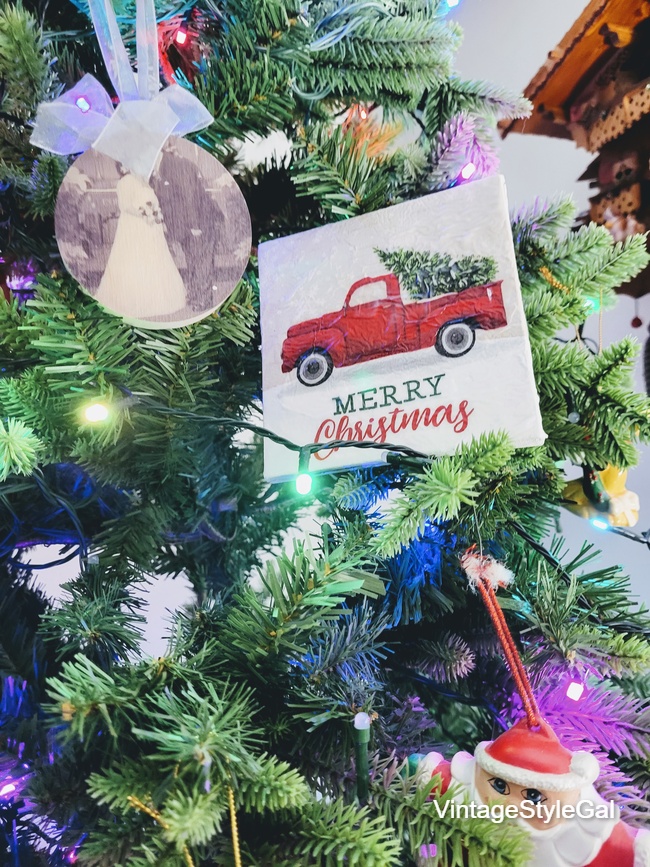
Finished Ornaments on the Tree
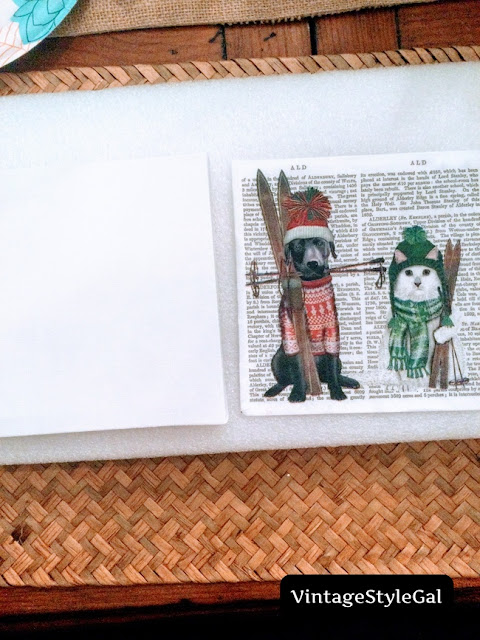
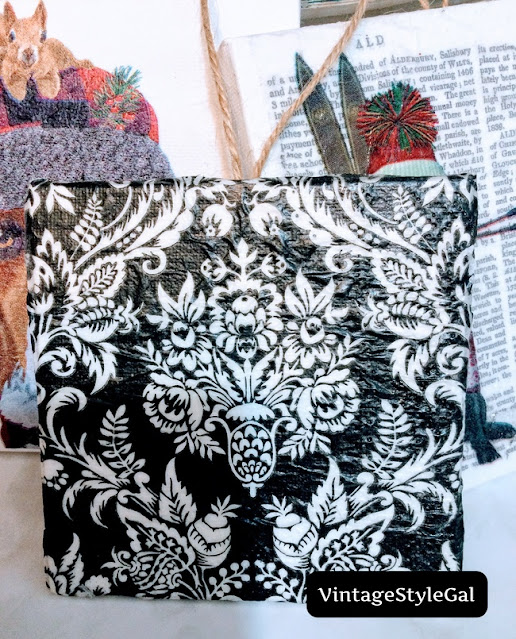
Mixed‑Media Variations (Dictionary Pages, Tiles & Damask Prints)
These are whimsical, vintage, and perfect for anyone who loves old books or mixed‑media art.

Lessons Learned While Making These Ornaments
Single‑ply napkins work best
Finger‑applied Mod Podge gives the smoothest base
Saran wrap is magic for removing wrinkles
Wax topcoats make some designs too shiny
Mistakes happen — and they’re part of the fun
I’m not a painter like my mom and sister (they inherited my grandfather’s talent), so I get creative in other ways. These ornaments scratch that creative itch without requiring a paintbrush.

A Family Tradition of Christmas Ornaments
Growing up, we always put our tree up the day after Thanksgiving. My grandparents started a tradition of giving each grandchild an ornament every year so we’d have a full collection as adults. I cherish every single one.
Now we have trees everywhere — the living room, dining room, bedroom, and our TV room. I haven’t decided which tree gets the dog ornaments yet, but I’m leaning toward the family tree.
Gift Ideas
These ornaments make wonderful gifts for:
Dog lovers
Cat lovers
Vintage truck fans
Family members with specific breeds
Friends who love handmade decor
Teachers, neighbors, coworkers
They’re personal, meaningful, and easy to customize.
How to Display Your Paper Ornaments
Try them on:
Your main family tree
A small tabletop tree
A themed tree (pets, vintage, woodland)
A bedroom tree
A dining room tree
A garland or wreath
A doorknob (your beagle ornament looks adorable there!)
Troubleshooting & Tips
Napkin tearing: Pat, don’t drag.
Wrinkles: Use saran wrap to smooth.
Too shiny: Skip glossy Modge Podge, use Matte finish.
Edges lifting: Add a thin extra coat of Mod Podge.
Napkin bunching: Always use single ply.
Uneven texture: Crinkles add character — embrace them!

Frequently Asked Questions
How durable are paper ornaments?
Very durable once sealed with Mod Podge. They last for years.
Can kids make these?
Yes — just help with the hot glue step.
Can I use tissue paper or gift wrap?
Absolutely. Tissue paper gives a softer look; gift wrap gives bold color.
What size canvas works best?
5x5 is ideal for most napkins. Tiles work beautifully too.
Can I hang these outdoors?
Not recommended — moisture will damage them.
Printable Instructions Card

A Little Note Before You Go
These DIY paper Christmas ornaments are easy, charming, and endlessly customizable. Whether you’re using leftover napkins or special designs you picked up just for the season, each ornament becomes a tiny piece of art.
And yes… the Beagle with the squirrel is still my favorite.


Your napkin ornaments are adorable and look wonderful on the trees! I too love beautiful napkins, but I use that top layer as "faux silk" on the fronts of my greeting cards. I love upcycling! Smiles, Linda at Paper Seedlings
ReplyDeleteThank you Linda. What a wonderful idea, you have such beautiful work.
DeleteThis is such a great idea! I love it! Thanks for sharing it with us!
ReplyDeleteThanks Charity! They are so easy, and I love those custom pieces for our home no else has.
DeleteI love finding ways to decorate on a budget! Such a cute project! 🙂 Thanks for the inspiration, Cara!
ReplyDeleteThese ornaments are so precious! I love the fact that they can double as coasters. Functional decor is fabulous!
ReplyDeleteThose turned out so pretty, I like them! Thanks so much for linking up at the Unlimited Link Party 95. Shared.
ReplyDeleteThank you, I enjoy putzing around with the items I already have and seeing what I can make.
Delete