
Searching DIY display riser? We are pretty excited to share with you a repurposing idea where we created a DIY display riser.
Repurposing ideas can help in reducing waste for the planet. Our DIY display riser is the perfect way to rid your home of those accumulated unused tins. DIY risers for display elevate your decor while being able to repurpose items in your home.

I have been hard at work lately using my dining room as my craft room. I can tell you that we have a plan, which is a plus, but the down side is that it is not a high priority item on our list right now for a craft room. Darn it... this cottage needs some attention in other areas before I get my crafting space, gotta love older homes. There is always something that needs completed around here.

Once I had the bottom of the tin completed, I decided I would take a little break from burning fingers.


It's okay though since I get to dream up the space, and put it together in my mind many times over. Something you may not know about me is that I am an analyzer. Oh my, if I could tell you the times this has prevented me from doing things in life you would be astounded. Oh, I have wasted a lot of time doing this same thing too. I look at every aspect, then change the perimeters within which I am working and decide how that outcome will change the path. It is tedious and drives my husband crazy.
You see, my husband thinks you come up with a plan and you stick to the plan. If only life worked out like that in my mind. Not that I make many hasty decisions, but when I have, I find I tend to not be happy about whatever decision I have made.
Oh well, let's get on to the good stuff like a DIY table riser, and a new way of creating table risers. Have you seen the wood risers many are using in their decor like these?
Or these?
Lovely huh? What is there not to love? Really nothing, unless you are running out of room, and a certain husband tells you that I must begin to clear items out of here before I bring more into our home. What? How will I ever decide what is "junk" and needs to leave? Better to makeover what I already have than bring new in I guess.
Initially I thought what a wonderful idea to use these in my displays. I loved the look, the texture, and the height they provided to displays and thought this would be the perfect addition to my collections.
Then I thought to myself, why not go down in your sea of items in the basement and see what you can come up with? I plan to share the basement with y'all, and some of you may decide we can no longer be friends after you see what it looked like. It is our work in progress. Mr. VS hurt his back this weekend, so no new progress has been made, but when we share it you just may be amazed at the amount of things we have down there.

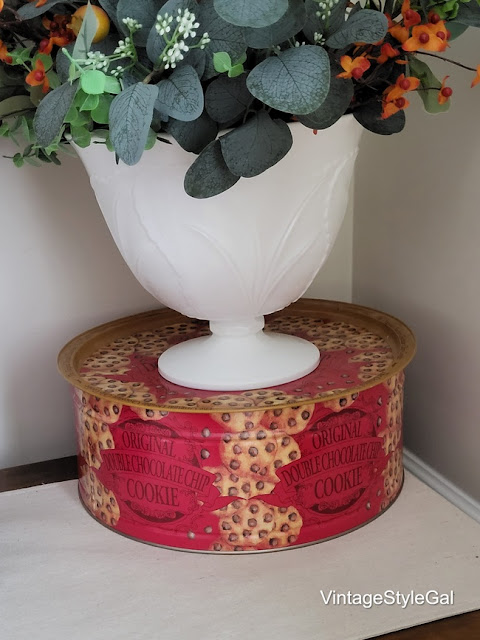
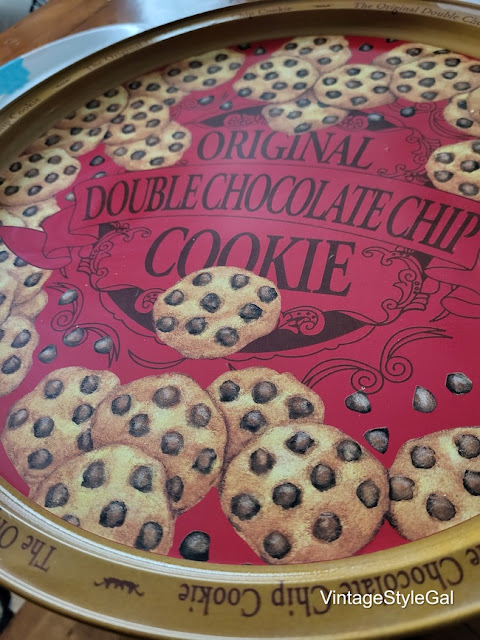
I found this tin in the basement. I can tell you when I bought the tin, it was filled with yummy chocolate chip cookies. Yep, a time before I was told I was allergic to wheat.

Ok, that's all I got, use a tin as a riser to elevate your décor around your home....

Just kidding... this particular tin had a bottom of course where the cookies were stored, and the lid doubled as a serving tray. Nice, huh? I looked this tin up to make sure no one was searching one out, and saw they are selling for about $10.00. No harm in giving it a makeover then.
I always like to check before I makeover an item in case I could be destroying an item people find fascinating. Trust me, I did not think anyone was searching this tin out, but no harm in looking first, right? I was surprised to find there are several out there on the internet for sale though. Who knew?

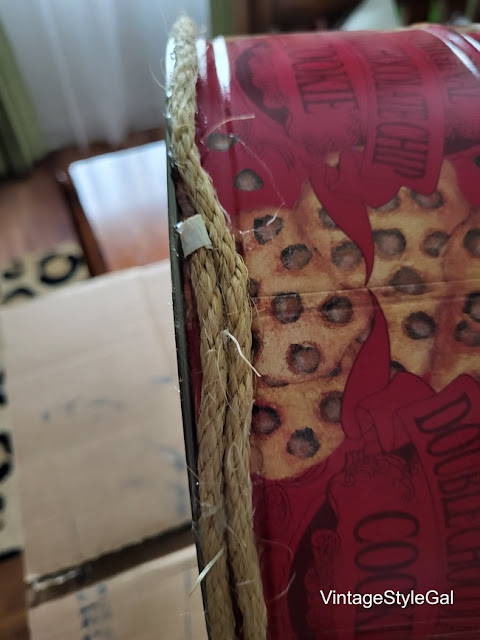
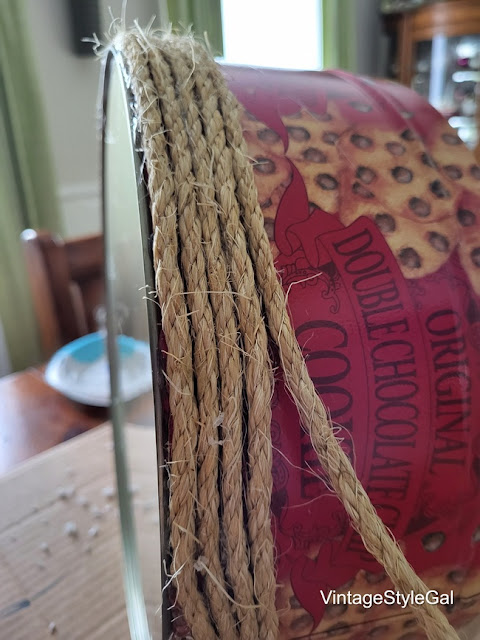
I picked up this twisted sisal rope a while back from Amazon thinking of another project to use it for, but decided this was the perfect project instead. I pulled out my handy dandy glue gun and got straight to work.

Can I just tell you that I do not have much feeling left in my fingertips? I am not even sure how many times I burnt my fingers, but the kicker was when the hot glue got up under my fingernail. Now that one really hurt. I may, or may not have done a jig, flapped my hand up and down in the air (not that it did much good), and wanted to cry a lonely tear down my face. Several days later and my fingertips still hurt.
After I decided I was finished feeling sorry for myself, and found that Bentley continued to chew on his toy at my feet, I continued along the way keeping my rope very close together throughout the gluing process. Suck it up buttercup, no time for tears, keep moving forward.
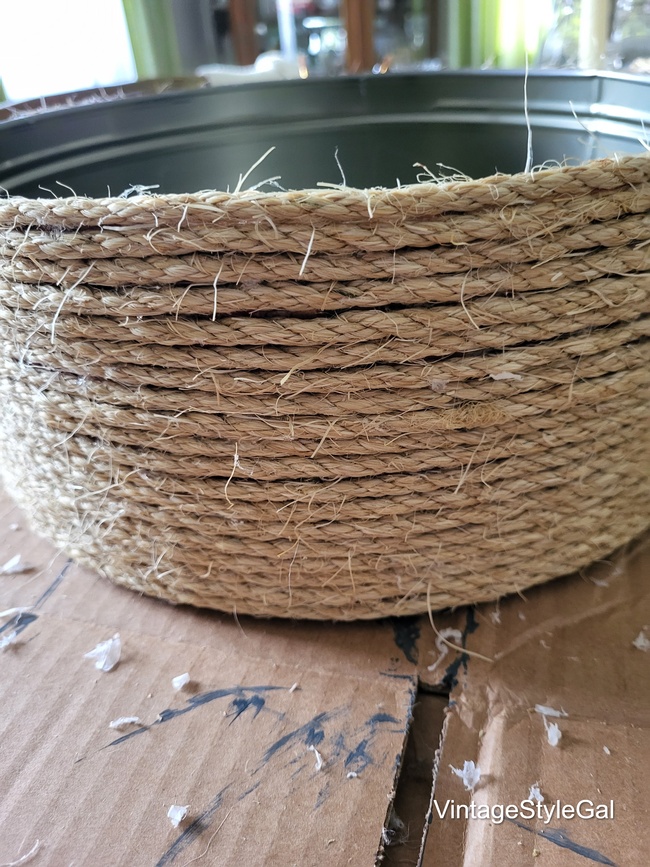
Right away, I was loving the texture the sisal rope provided to my tin, and I could visualize using it as a riser for my decor displays in several places of our home. I love it when a plan begins to come together.

I moved on to the lid next, and began hot gluing the rope along the rim of the lid/serving tray. I continued until all of the lid was completed, again keeping the rope very close together. Don't worry, more burns were to come. I am not usually bothered by a burn by the glue, but for some reason I was extra touchy that day.
I think it was when I would make sure each row was as close as I could get it that the glue began to seep up through the sisal rope. The plus is, I barely feel it now.

Do you not love the lid or serving tray, however I decide to use it? I was pleased with how it finished off in the center. I was a bit worried by it, but in the end there was no need to worry afterall.

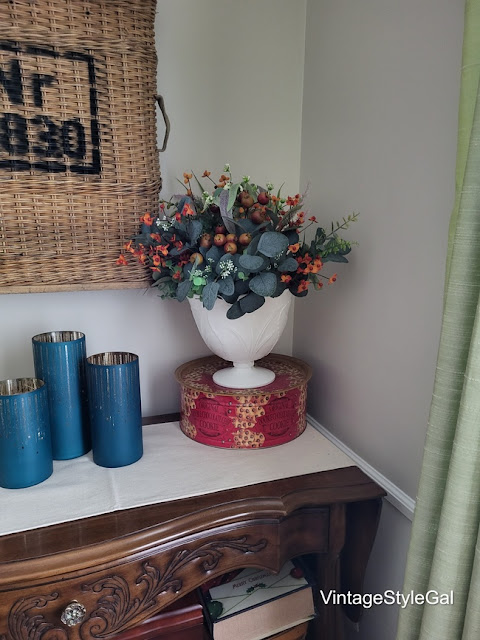
I was pretty happy with how this entire project turned out once I put the lid on top and then placed it under my punch bowl/planter.

Do you see my planter changed a bit with a bit of fall added to the mix? I am mixing fall throughout our home this year, who knew fall would so quickly become a new favorite for me to decorate our home in?
What do you think about my DIY display riser? I am betting many of you out there have old tins laying around that you can think of giving a makeover to.
I will tell you that I used 95 feet of sisal rope on this cookie tin. Yes, blew my mind too! My tin is six inches tall, and thirteen inches wide. I also thought it looked pretty similar to Crate & Barrel's lidded basket below.
 |
| Crate & Barrel, Seaton Medium Round Woven Storage Basket with Lid |
Mine is a smidge smaller than their basket, but guess how much money I saved myself? Only $60.00! What? Yes, I saved quite a bit of money on this project which made me do a little dance and think wowsers! What else can I makeover in our basement?
I plan to use it as a riser, check back later to see how I share what all I can use this handy dandy basket for. I am calling it a basket/riser now. I think it looks very much like a basket, but offers the stability of a riser. How lucky did I get to have the best of both worlds? Yeah me! Don't you just love saving money, and sharing with others so they can save too? I know I do! Let us know if you decide to give this project a try, we would love to see your projects too!
Below are a list of items needed if you decide to give this project a try. I can honestly tell you, I am not sure how many glue sticks I used. I did not think about keeping track of it while I was working on gluing the sisal rope, so sorry for that. I am guessing as long as you have a new pack of glue sticks, you should be fine.
Sisal rope will be needed, along with many glue sticks, glue gun, you could even pick up a few stems for display like we have shown in our punch bowl/vase.


Keep a cup of ice water near by while using a glue gun. When you get glue in your fingers stick them in the ice water right away, it cools the glue fast and stops the burning.
ReplyDeleteThank you so much for the suggestion! I will have to try that the next time I am gluing a project like this one!
Delete